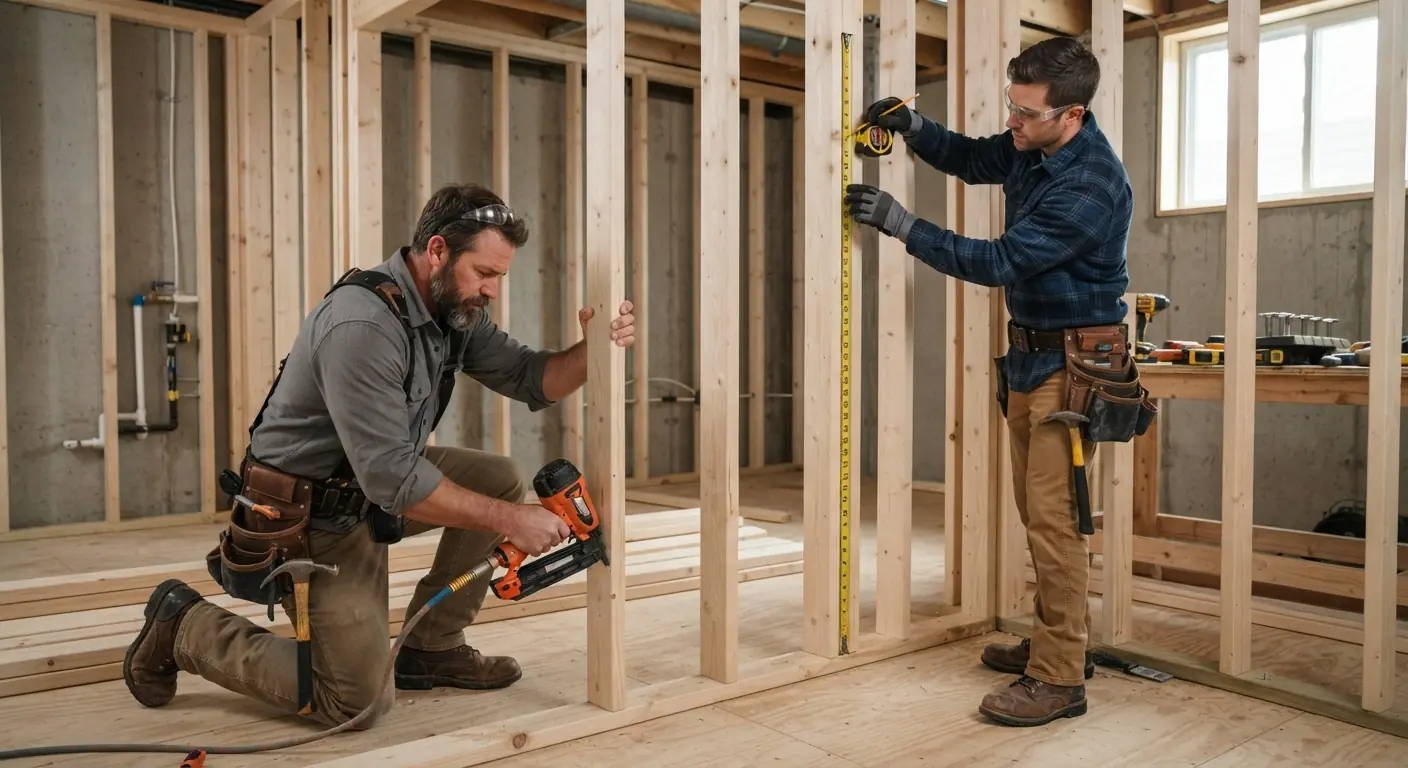
Yes. Rigid foam is a good choice for basement walls. It won't soak up water or feed mold, and it keeps damp indoor air off cold concrete.1 Pick unfaced XPS or EPS, glue it tight and seal every seam.2 Thickness follows climate zone: 1 inch of XPS in zone 3, 2 inches in zone 4, and in zones 5 and up either 4 inches of EPS or 1 inch of XPS behind an R-13 stud wall.341
TL;DR
- Foam belongs against the concrete. It doesn't absorb water or support mold, and it stops indoor air from condensing on the cold wall.1
- Use unfaced XPS or EPS. Polyiso only fits when its facing is free of foil or plastic, because those facings stop the wall drying inward.1
- Size it to the 2021 IECC: R-5 continuous in zone 3 (metro Atlanta), R-10 in zone 4, and R-15 or R-13 plus R-5 in zones 5 to 8 (Denver, Colorado Springs, Fort Collins). Local adoption varies.35
- Skip the plastic sheet. Up to 2 inches of unfaced XPS or 4 inches of unfaced EPS already controls vapor and still lets the wall dry.1
- Order matters: fix water, glue foam tight, seal seams and the rim joist, frame, fill the cavity with unfaced batts, then drywall with a 1/2-inch gap at the floor.12
Is rigid foam good for basement walls?
Yes. Rigid foam is one of the best materials to put directly against a basement wall. It doesn't absorb water and doesn't support mold growth, yet it still lets the concrete dry into the room. Building Science Corporation recommends rigid foam or spray foam for interior basement insulation for exactly those reasons.1
The trouble with basements is temperature. Concrete sits against the ground, so the wall stays cool all year. The worst moment comes in summer, when warm, humid indoor air touches a wall that's colder than the air's dew point.1 Water condenses on the concrete. If that concrete is covered by fiberglass or cellulose, the insulation can absorb large amounts of moisture and stay damp.2 Put a plastic sheet over the studs and the moisture has nowhere to go. The common result is odor, mold, decay and corrosion.1
Foam fixes the mechanism. A continuous layer of foam glued to the wall keeps indoor air away from the cold concrete.1 It also puts insulation between you and a surface that loses a lot of heat. Basements can account for upwards of 20 percent of a home's heating and cooling load.1
Two caveats. Building Science Corporation rates spray foam as the least risky interior approach. It also calls a rigid foam layer plus an insulated stud wall the most cost-effective one.1 Spray foam costs $1.50 to $5.00 per square foot of wall installed, compared with $1.20 to $3.70 for rigid foam board.6
The second caveat is location. Physics favors foam on the outside of the foundation. In practice the protection layer often costs more than the insulation itself, and exterior foam can become an "insect interstate" into the house.1 DOE's Building America program says exterior insulation shouldn't be used where termites are a problem.2 Outside foam also means digging out the foundation. For a basement you're finishing from the inside, interior foam is the practical route.
XPS, EPS or polyiso: which foam board should you use?
For most interior basement walls, use unfaced XPS or unfaced EPS. Both resist water, and both let the wall dry inward at the thicknesses most basements need. DOE's Building America guidance lists polyiso as a third option.2 It suits a basement wall only when its facing is free of foil or plastic, which block inward drying.1
| Foam type | R-value examples | Thickest board that still lets the wall dry | Facing to check | Where it fits best |
|---|---|---|---|---|
| XPS (extruded polystyrene) | R-5 for a 1-inch board, R-10 for 2 inches41 | 2 inches, unfaced1 | Unfaced boards are sold for basements4 | Zones 3 and 4, a thin layer behind studs, exterior foundation work2 |
| EPS (expanded polystyrene) | R-3.9 for a faced board sold as 1 inch (0.9375 inch actual), R-15 for 4 inches41 | 4 inches, unfaced1 | Faced EPS is also sold; ask what the facing is4 | All-foam R-15 walls in zones 5 to 8 |
| Polyiso (polyisocyanurate) | Varies by product; read the board label | Depends on the facing | Sold with foil or glass-mat facings7 | Only with a facing your contractor confirms is free of foil and plastic1 |
Across all rigid foam boards, HomeGuide lists R-3.6 to R-5.0 per inch.6
Why thickness and facing change the choice
A basement wall needs a way to dry. Building Science Corporation says the foam layer should let some vapor through, at more than 0.1 perm. The more permeable the layer, the more the wall can dry and the lower the moisture risk.1 It gives the limits: up to 2 inches of unfaced XPS (R-10) or 4 inches of unfaced EPS (R-15).1
The drying limit is what gives EPS a place in cold climates. A 1-inch XPS board is rated R-5,4 so R-15 of XPS works out to about 3 inches. That goes past the 2-inch limit for XPS. Four inches of EPS reaches R-15 and stays inside the limit.1
Polyiso's issue is the skin. The rigid foam in Building Science Corporation's recommended basement wall has no foil or plastic facing.1 Basement insulation retailers sell polyiso with foil facings and glass-mat facings.7 If a quote lists polyiso, ask which facing it has.
How thick should foam board be for basement walls?
Foam thickness follows your climate zone's R-value minimum. The 2021 International Energy Conservation Code (IECC), Table R402.1.3, sets basement walls at R-5 continuous insulation in zone 3, R-10 in zone 4, and R-15 in zones 5 through 8. In board terms that's about 1 inch of XPS, 2 inches of XPS, and 4 inches of EPS.341
Each zone also allows a stud-wall path. The table below shows both.
| Climate zone | 2021 IECC basement wall minimum | All-foam option | Foam-then-studs option | Example areas |
|---|---|---|---|---|
| 0, 1 and 2 | Not required (R-0)3 | None required | None required | |
| 3 | R-5 continuous or R-13 cavity3 | 1 inch XPS (R-5)4 | R-13 in the stud cavity, with foam behind it | Fulton, DeKalb, Cobb and Gwinnett counties, Georgia (3A)5 |
| 4 (except Marine) | R-10 continuous or R-13 cavity3 | 2 inches XPS (R-10)1 | R-13 in the stud cavity, with foam behind it | |
| 5, Marine 4, 6, 7 and 8 | R-15 continuous, R-19 cavity, or R-13 cavity plus R-5 continuous3 | 4 inches EPS (R-15)1 | 1 inch XPS (R-5) plus R-13 in the stud cavity34 | Denver, El Paso and Larimer counties, Colorado (5B)5 |
In zones 3 and 4, R-13 in the stud cavity meets the code on its own.3 The foam behind it is there for moisture. Fiberglass and cellulose shouldn't touch a foundation wall.2 The code doesn't count that foam toward the minimum on this path, so ask your contractor what thickness they use and why.
The code also sets the height. Insulation runs from the top of the basement wall down to 10 feet below grade or to the basement floor, whichever is less.3 In most basements that means floor to ceiling.
A basement that stays unconditioned can skip wall insulation, but only when the floor above is insulated and several other conditions hold. One of them is that no heating or cooling supply or return vents serve the basement.3 Once you finish the space and add vents, plan on insulating the walls.
These figures come from the 2021 edition of the model code. Your city or county may use a different edition or local amendments. Your contractor pulls the basement finishing permit and books the inspections, so they should know which version applies.
What this means in Atlanta and Colorado
Metro Atlanta's core counties sit in zone 3A.5 One inch of XPS covers the R-5 continuous path. A 2x4 wall with R-13 batts over foam covers the cavity path. If you're pricing a project there, see basement finishing in Atlanta.
Denver, El Paso and Larimer counties are all zone 5B.5 So finishing a basement in Denver, Colorado Springs basement projects and basement finishing in Fort Collins all fall in the R-15 tier.3 The foam-then-studs combination of 1 inch of XPS plus R-13 batts meets it.3
Do you need a vapor barrier with rigid foam insulation?
No. Leave out the plastic sheet. Unfaced foam up to 2 inches of XPS or 4 inches of EPS already slows vapor while letting the wall dry into the room.1 Building Science Corporation says no interior vapor barrier should be installed on a basement wall, because it blocks that inward drying.1
Concrete holds and passes water. Its moisture can come from the ground or from fresh concrete, or it can wick up through the footing.1 A basement wall is designed to let that moisture dry inward, where a dehumidifier or ventilation can remove it.1
DOE's Building America guidance names the materials that stop this drying. Polyethylene sheeting, vinyl or foil wallpaper, and epoxy, oil or alkyd paint are all Class I vapor retarders that trap moisture in the wall.2 The same goes for "blanket" insulation sold with a plastic film on its face.1
Foam board is sometimes sold as a vapor barrier. Taped foam does control vapor. Up to 2 inches of unfaced XPS or 4 inches of unfaced EPS sits inside the permeance range Building Science Corporation wants, so nothing extra goes over the studs.1
Will mold grow on rigid foam insulation?
The foam itself doesn't support mold growth.1 Mold shows up in foam-insulated basements when water or humid air reaches something that can feed it. The usual culprits are studs, batts or drywall, or cold concrete behind a loose board. Tight adhesion, sealed seams and a dry wall prevent both.
Joseph Lstiburek of Building Science Corporation puts it simply: "Mold is a water problem. No water, no mold."2
Water reaches an insulated basement wall four ways: groundwater leaks, moisture left in new concrete, water wicking up through the footing, and indoor air leaking behind the insulation and condensing.1 Foam handles the last one when it's glued without air gaps and every seam is sealed.2 It can't stop a leak.
Fix water before any foam goes up.6 Clearing it later is expensive. Mold remediation costs $15 to $30 per square foot.6 If the foundation shows cracks, have a structural engineer look at it before insulating.8 If you already see mold or smell a musty odor, have a licensed mold professional assess it first.
How do you install rigid foam, then studs?
Nine steps, in order: fix water, prep the wall, cut the boards, glue them tight, seal seams and edges, insulate the rim joist, frame the stud wall, fill the cavity, then hang drywall. Foam always goes on first, tight to the concrete, so no framing or batt touches the foundation.18
1. Fix water and cracks
Deal with leaks and cracks in the wall before anything else.8 Gutters should carry roof water away and the ground should slope away from the house.1 Insulation covers the wall, so any problem left behind it gets harder to see and more expensive to fix.
2. Prep the wall
Remove old nails, screws and anything else that stops a board sitting flat.8 Clear dust and loose material so the adhesive bonds to the concrete.
3. Cut boards to run floor to sill plate
Stand the boards vertically from the basement floor to the sill plate, with edges tightly butted.8 Score the face with a utility knife along a straight edge, then snap the board on the line.8 Cover the full wall height.3
4. Glue each board tight to the concrete
Use a construction adhesive rated for polystyrene or foamed plastics.8 One install guide uses 3/16-inch beads spaced 6 to 12 inches apart on the back of each board, then braces the board until the adhesive sets.8 Follow the adhesive's own open time.
Full contact is the goal. DOE's guidance says the panels must adhere completely to the wall with no air gaps behind them.2 Masonry screws with foam washers are the other option. They need to reach at least 1 inch into the concrete.8
5. Seal every seam and edge
Seal each joint between boards. DOE lists acrylic-latex caulk, foam sealant or mastic for edges and seams.2 Foam board joint tape works on flat seams.8 Fill larger gaps at corners with a spray foam that's compatible with the board.8
Pay extra attention to the top and bottom edges. Soil gas often enters where the slab meets the wall, and it can condense behind the insulation.1 The foam should wrap all exposed concrete so indoor air can't reach it.1
6. Insulate and air seal the rim joist
The rim joist is the wood band sitting on top of the foundation wall. It runs cold in both summer and winter.1 It needs air-impermeable insulation1 and air sealing.2 The basement insulation guide covers rim joists and the rest of the wall assembly.
7. Frame the stud wall
Build the stud wall in front of the foam. The foam stays continuous behind the framing.1
8. Fill the cavity and skip the plastic
Fill the stud cavity with unfaced fiberglass or damp-spray cellulose, and install no vapor barrier.1 In zones 5 to 8, R-13 here plus R-5 of foam meets the code's combined path.3
9. Hang drywall with a gap at the floor
Leave at least a 1/2-inch gap between the drywall and the floor.2 Choose wall finishes that let the wall breathe. Vinyl wallcoverings and oil, alkyd or epoxy paints block inward drying.1 Finishes low on the wall should allow for the chance of a flood from a leaky appliance or failed plumbing.1
What has to cover the foam for fire safety?
Plan to cover foam board with drywall in any finished basement, and confirm the exact covering with your contractor and local inspector. Federal guidance states the rule plainly for spray foam: DOE's Building America program says it must be covered with ignition-barrier paint or 1/2-inch gypsum board.2
In a foam-then-studs wall, drywall covers the foam anyway. It's the normal next step after framing and cavity insulation.8
The risk sits with plans that leave foam bare. Some cost guides describe foam board installed against the foundation without framing as a way to save space and money.6 The covering foam plastic needs in a living space is set by your local building code, and adoption and amendments vary by city. Before you sign a plan with exposed foam, ask your contractor what covering the inspector will require.
What are the disadvantages of rigid foam insulation?
Rigid foam's drawbacks are cost, a fussy install, and limits on thickness and facing. It costs more per square foot than fiberglass batts at both ends of HomeGuide's price range. It only protects the wall when every board is glued tight and every seam is sealed. Thicker or foil-faced boards also slow the inward drying a basement wall needs.621
It costs more than batts
HomeGuide lists rigid foam board at $1.20 to $3.70 per square foot installed and fiberglass batts at $1.00 to $2.60.6 Those prices use wall area, not floor area.6 A foam-then-studs wall adds framing, which HomeGuide puts at $18 to $24 per linear foot.6 Drywall adds $1.50 to $3.50 per square foot of wall.6 Your own total is priced at your estimate.
The install has to be airtight
Loose boards and open seams let indoor air reach the concrete, which is the exact problem the foam is meant to solve.21 A careful install takes longer than stapling batts.
Thickness and facing are limited
Past 2 inches of XPS or 4 inches of EPS, the foam falls outside the permeability range Building Science Corporation recommends.1 Foil or plastic facings cut inward drying further.1
It needs a covering
Foam in a finished basement goes behind drywall or another covering your inspector accepts. Plan that into the cost.
It won't fix water
Foam tolerates damp. It can't stop a leak, and it can hide one. Address moisture before insulating.6
Exterior foam brings its own problems
Foam on the outside of the foundation needs a protection layer that often costs more than the insulation. It can also give insects a path into the house.1
What to ask your contractor about foam board
A good foam board quote names the foam type, thickness, R-value and facing. It also says how seams, the rim joist and the covering will be handled. Basement Remodeling Co. suggests checking those items line by line before you sign, because each one decides whether the wall stays dry.
HomeGuide also advises asking for the insulation type, brand, R-value and thickness in writing.6 Ask these questions:
- Which climate zone are we in, and which R-value path are you building to?
- Which foam, how thick, and is it faced? If faced, with what?
- How will the boards be attached, and what seals the seams and the top and bottom edges?
- How will the rim joist be insulated and air sealed?
- What goes in the stud cavity, and will there be any plastic sheet over it?
- What covers the foam, and will the inspector accept it?
- Did you find any leaks or cracks, and what gets fixed before insulation?
If your basement is already finished with batts against the concrete, redoing those walls is a basement remodeling project. It often gets folded into a wider basement renovation with a new layout or finishes.
When you're ready, you can get a written quote for finishing your basement. Basement Remodeling Co. matches you with one vetted, licensed basement contractor for your metro. That contractor gives you a free on-site estimate and a written, itemized quote, and checks moisture while measuring. You can also find the contractor who covers your ZIP code.