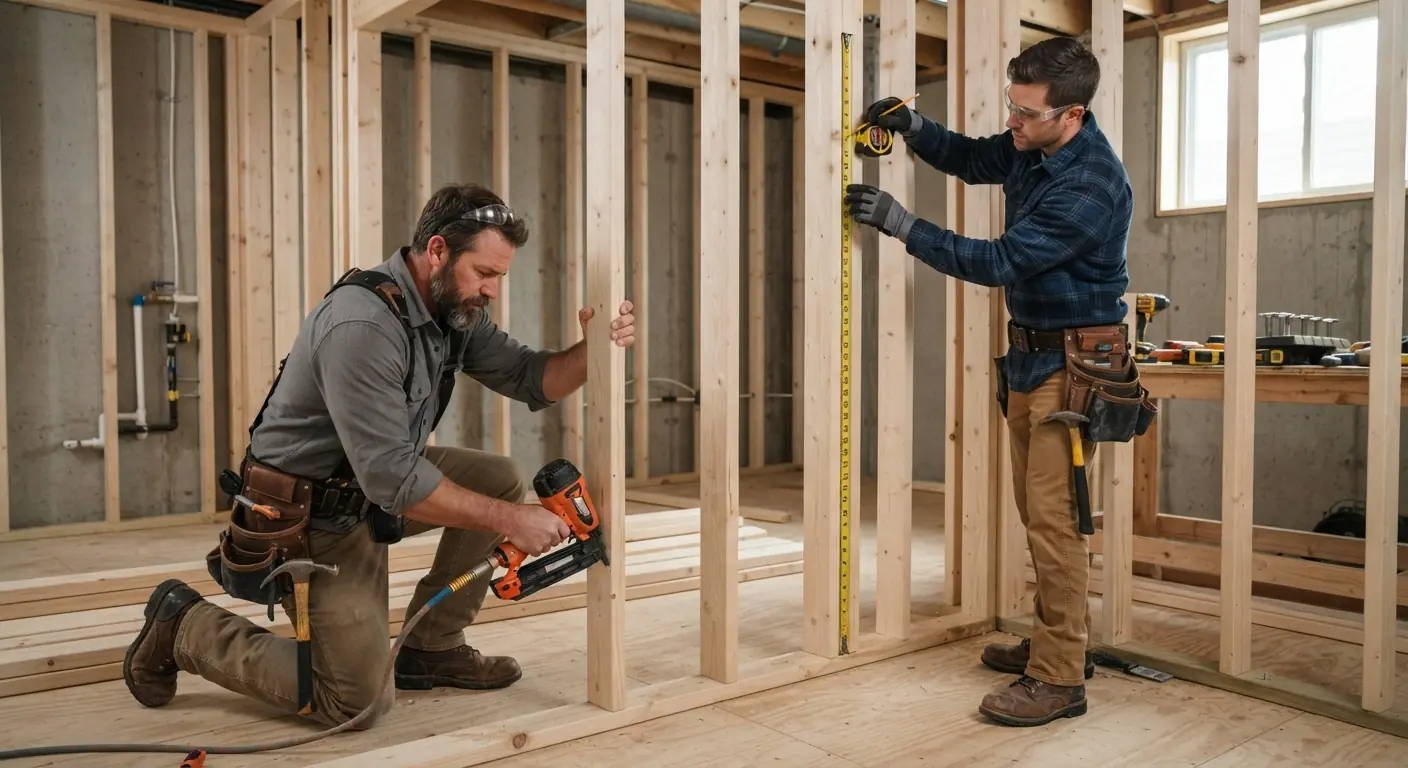
The finishing mistakes people regret most are the ones hidden behind drywall. Finishing over a moisture problem and skipping a code-sized egress window cost the most to undo. Insulating in the wrong order comes next. Ceiling access and outlet count are cheap to get right up front and annoying to fix later. Settle all five before anyone frames a wall.
TL;DR
- Fix water first. Insulation over a wet wall invites mold, and wall waterproofing coatings only work on bare concrete, so a missed leak means tearing out finished walls.1
- Insulation has an order: seal the rim joists, put rigid foam on the concrete, then frame and wire. Once the stud wall is up, the foundation wall is out of reach.12
- Plan access to shutoffs, cleanouts and ducts before the ceiling closes. A drop ceiling keeps access but costs more per square foot and eats headroom.32
- Under the 2021 International Residential Code, every new basement bedroom needs its own escape opening. Cut it in before insulation and framing.4
- Outlets are easy to add in open studs and fiddly one at a time later. Plan them room by room with your contractor.
Which basement finishing mistakes cost the most to fix later?
Moisture and egress mistakes cost the most, because fixing them means opening finished walls and often the foundation. Insulation order sits in the middle. Ceiling access and outlet count cost the least in money, but they cost you every time a valve needs turning or a cord needs running. The table ranks them.
The price column shows what each item costs to do right the first time, from two national cost guides. The fix-later cost is that figure plus tearing out and replacing the finish in front of it. For scale, drywall runs $1.50 to $3.50 per square foot installed and interior paint $1 to $3 per square foot.3
| Mistake (most to least costly to undo) | What fixing it later involves | Cost to do it right the first time |
|---|---|---|
| Finishing over moisture | Remove wet drywall, insulation and flooring, then waterproof | HomeGuide: $6,000 to $18,000 for waterproofing.3 Angi: $4,400 on average, or $5 to $10 per sq ft5 |
| Skipping the egress window | Cut the foundation, dig an area well, rebuild the finished wall around it | HomeGuide: $2,000 to $5,000 installed.3 Angi: $200 to $950 per window, plus permits and excavation5 |
| Insulating in the wrong order | Strip drywall and framing to reach the foundation wall and rim joists | HomeGuide: $1 to $3 per sq ft installed3 |
| No ceiling access | Cut into the ceiling at each valve or cleanout, then patch and repaint | HomeGuide: drywall ceiling $2 to $4 per sq ft, drop ceiling $4 to $20 per sq ft3 |
| Too few outlets | Fish wire through closed walls, then patch and repaint | Angi: $100 to $450 per outlet5 |
Figures from HomeGuide3 and Angi5.
The ranking is our judgment of how much has to come out to fix each one. Your house can reorder it. A basement that stays dry and will never hold a bedroom carries little moisture or egress risk.
Angi's cost guide tells homeowners to be ready for water intrusion, foundation issues and electrical or HVAC upgrades found partway through the job.5 If you already have a finished basement with one of these problems, fixing it is a basement remodeling job, and the same order applies.
Why is finishing over moisture the most expensive mistake?
Because water ruins everything you put in front of it, and the fix starts outside the wall you just finished. Wet drywall, insulation and carpet can grow mold and have to come out. Then you still need the waterproofing you skipped. Prove the basement stays dry through a wet season before you frame.
Family Handyman puts it plainly: don't cover a wall with insulation if water is leaking in from outside, or you create a mold problem.1 Its waterproofing advice has a catch that matters here. Paint-on masonry waterproofers must go on bare concrete or masonry walls.1 Once a stud wall and drywall sit in front of the concrete, that cheap option is gone.
Start outside. Tom Silva, This Old House's general contractor, says poor grading and gutter problems are the most common causes of wet basements.2 His simple fixes:
- Send gutter water at least 10 feet from the foundation with diverters.2
- Slope the soil away from the house.2
- Seal small cracks and gaps around pipes with concrete patching compound, and fill larger cracks with hydraulic cement.2
- Have a structural engineer look at any crack wider than a pencil.2
Then test. Tape 2-foot squares of plastic sheeting to the floor and walls and leave them for a couple of weeks. Condensation under the plastic means the basement needs sealing. Droplets on top mean it needs a dehumidifier.2 The comment thread on a homeowner's step-by-step renovation log on Instructables suggests the same kind of plastic test before any flooring goes down.6 The log itself says to strip the space to bare concrete and look for cracks, mold, standing water and damp walls, and to get a pro to check any of them.6
What does the fix cost? HomeGuide puts waterproofing at $6,000 to $18,000, a price that covers wall sealing plus a pump and drain.3 A sump pump alone runs $600 to $2,500 installed.3 Angi puts waterproofing at $4,400 on average, or $5 to $10 per square foot.5 It puts a sump pump at around $575.5 If your plastic test shows water coming through the walls, budget from HomeGuide's range because it prices the full package. Angi's average is a better fit for a smaller fix. Basement waterproofing methods match each kind of leak to its fix.
If you plan to test for radon, do it before the walls close. Use a certified radon tester, and a certified mitigation contractor if the result calls for one.
What order should basement insulation go in?
Moisture first, then rim joists, then rigid foam on the concrete, then framing, then wiring and any batts. The rule behind the order is simple. Anything that touches the foundation wall has to go on before the stud wall hides it, and nothing goes on a wall that's still wet. Finishing a basement step by step follows the same logic for the whole job.
1. Seal the rim joists
Family Handyman calls uninsulated rim joists huge energy losers. It recommends rigid insulation cut to fit, with at least 2 inches of extruded polystyrene.1 Fill small gaps with caulk and larger ones with spray foam, and check your local code for what's required.1 The Instructables homeowner had an energy evaluation done first. In that house, just 18 inches of concrete wall above grade caused 25% of the heat loss.6 Your numbers will differ, so ask your contractor how the rim joists and the top of the wall get sealed.
2. Put rigid foam against the concrete
This Old House recommends rigid foam against the foundation walls before framing, for both moisture resistance and insulation.2 The homeowner explains why the foam goes directly on the wall. Moisture can reach the wall from the damp ground outside and from the damp air inside.6 Foam glued tight to the concrete keeps warm interior air off the cold wall and leaves no air gap for moisture to collect in.6
The log gives two jobs to finish before the foam goes up. Expand any windows you need for code first. And move plumbing that runs along the wall out a little, because you don't want to bury pipes under insulation.6
3. Frame, wire, then add batts
The bottom plate of each wall sits on concrete, so it must be pressure treated.6 Batts go into the stud bays after the wiring is in. For the ceiling, This Old House suggests fiberglass batts without a vapor barrier between the joists to cut sound.2
HomeGuide puts basement insulation at $1 to $3 per square foot installed.3 In the log's comment thread, a reader on a tight budget asked whether extra fiberglass was worth it. The reply: it costs a few hundred more, and it's worth doing well because you're likely to finish a basement once.6 Your local energy code sets the minimum. Ask your contractor to name the assembly and its rating on the quote.
Why plan ceiling access before the drywall goes up?
Because shutoff valves, cleanouts, junction boxes and duct dampers live in the joists, and a solid drywall ceiling seals them in. You'll need them again. Decide up front where access panels or drop-ceiling zones go. Keep ducts and pipes tight to the joists to protect headroom.
The two ceiling types trade cost against access. HomeGuide prices a drywall ceiling at $2 to $4 per square foot installed, or $1,000 to $6,000 total.3 A drop ceiling runs $4 to $20 per square foot and is sometimes used in basements for easy access to utilities.3 This Old House adds the catch: a drop ceiling hides mechanicals but costs headroom.2 You can split the difference: drywall in the main room, with access panels at each valve and cleanout.
Headroom is the other half of the ceiling decision. Under the 2021 International Residential Code, section R305.1, habitable space and hallways in a basement need a ceiling height of at least 7 feet.4 Bathrooms and laundry rooms need 6 feet 8 inches.4 Beams, ducts and other obstructions may drop to within 6 feet 4 inches of the finished floor.4 You may see 7.5 feet quoted online.2 This Old House gives that figure, but its link points to the International Building Code rather than the residential code.2 Family Handyman notes that many local rules require at least 7 feet, sometimes more.1 Local adoption and amendments vary, so your permit office has the final word.
Gaining headroom after the fact is hard. This Old House suggests moving ducts or pipes to gain inches, since digging out the floor is complex and expensive.2 Angi says increasing basement headroom is expensive and requires raising the foundation.5
One more ceiling mistake shows up in Family Handyman's list. Don't heat a basement by cutting a hole in the main trunk line and adding a register. It unbalances the whole system. Have a heating contractor design the ductwork.1 Get that design before the soffits are framed, so the boxes around ducts only get built once.
What does a missing egress window cost you later?
It can stop a room from being a legal bedroom, and adding one after finishing means cutting the foundation and digging a well through a finished wall. Under the 2021 International Residential Code, every new basement sleeping room needs its own escape opening. Local adoption and amendments vary, so confirm with your permit office.4
An egress window is a window big enough to climb out of in a fire. The code calls it an emergency escape and rescue opening. HomeGuide notes that a basement room needs a window, closet and door to count as a bedroom.3
| 2021 IRC rule | Section | Minimum or limit |
|---|---|---|
| Net clear opening | R310.2.1 | At least 5.7 square feet4 |
| Opening height | R310.2.2 | At least 24 inches4 |
| Opening width | R310.2.2 | At least 20 inches4 |
| Sill height | R310.2.3 | Bottom of the opening no more than 44 inches above the floor4 |
| Area well size | R310.4.1 | At least 9 square feet, at least 36 inches out and 36 inches wide4 |
| Area well ladder | R310.4.2 | Required when the well is deeper than 44 inches4 |
Source: 2021 International Residential Code, Chapter 3.4
The height and width minimums hide a trap. A window that just meets both, 24 by 20 inches, works out to 480 square inches, but the 5.7 square foot area rule works out to about 821 square inches.4 By our arithmetic, an opening at the 24-inch minimum height needs to be about 34 inches wide, and one at the 20-inch minimum width needs to be about 41 inches tall. An existing basement window can fall short even when one side looks big enough, so check it against the full egress window requirements.
The code is specific about when you need one. Section R310.7 says new sleeping rooms in an existing basement need an escape opening, while other alterations and repairs to an existing basement don't.4 HomeGuide's cost guide says basement bedrooms or living spaces must have an egress window or door.3 Your local code may be stricter than the model code, so ask before you drop the window from the plan.
Cost depends on how much digging is involved. HomeGuide puts an egress window at $2,000 to $5,000 installed.3 Angi puts it at $200 to $950 per window for materials and installation, with more for permits and for excavation around the house.5 Budget from HomeGuide's range. Family Handyman tells readers to be prepared to enlarge existing windows and rework the foundation to make room for egress, and that's the part Angi's figure leaves out.1
Timing is the cheap part. The Instructables log says to expand windows for code before any insulation goes on.6 Its author also left extra space around a window for a planned replacement.6
Permitted work also brings the alarms up to date. Under sections R314.2.2 and R315.2.2 of the 2021 IRC (local adoption varies), alterations that need a permit require smoke alarms and carbon monoxide alarms located as for a new home.4 Smoke alarms go in each sleeping room and on each story, basements included.4 Wire them in while the walls are open.
Why do people wish they had added more outlets?
Because rooms now run far more devices than older wiring plans assumed, and each outlet added after drywall means fishing wire through a closed wall.6 In open studs, an extra box is a small line item. Walk each room with your contractor, mark where screens, desks and freezers go, and put outlets there.
The Instructables log makes the point about older houses. One or two outlets per room were enough in the 1950s and 1960s, and the author placed new outlets about every three to four feet.6 The log also splits the power into two circuits, one for outlets and one for lights.6 Your local electrical code sets the spacing and circuit rules for your house.
Adding items later is priced one at a time. Angi lists outlet installation at $100 to $450 each, light switches at $60 to $300 each and light fixtures at $150 to $900 each.5 HomeGuide puts wiring a whole basement at $4 to $9 per square foot, or $2,000 to $13,500 for an average basement.3 The per-item price is where a forgotten outlet lands.
A few items are easy to miss:
- Moisture-prone areas need GFCI outlets.2
- A stairway with six or more risers needs a light switch at each floor level under section R303.7 of the 2021 IRC.4
- The existing panel has to handle the new load. This Old House suggests a licensed electrician inspect the system early.2
New circuits are licensed electrician work. Put the outlet and circuit plan on the quote so it gets priced before the walls close.
When should you not finish a basement?
Hold off while water still gets in, while a structural question is open, or when the ceiling can't reach code height without major work. Also wait if the budget has no room for surprises. Each of these turns a finished basement into a tear-out, a failed inspection or a half-done job.
While water still gets in
Insulation over a leaking wall is a mold problem waiting to happen.1 Fix the grading, gutters and cracks, then run the plastic test again.2
While a structural question is open
This Old House suggests probing the joists, rim, sill plate and wood-framed windows with an awl for rot or insect damage, and checking joists for sag. If you find a problem, get a professional before you go further.2 HomeGuide puts a structural engineer at $100 to $220 per hour.3
When the ceiling can't reach code height
If the basement can't reach 7 feet in habitable areas, check the 2021 IRC exceptions and your local rules first.4 The fixes are big. HomeGuide puts raising a house at $10,000 to $40,000, or $20,000 to $100,000 if the foundation is replaced at the same time.3
When the budget has no cushion
This Old House passes on a home builder's advice to hold back about 15% to 20% of the total budget for surprises.2 Without it, a moisture or wiring discovery halfway through stalls the job.
When you'd be skipping the permit
Most municipalities require permits to finish a basement.2 The Instructables log notes that where its author lived, the city could force you to tear everything out without one, and an insurer could refuse to cover the house.6 Rules differ by city, so check with your building department.
What should a good quote show before framing starts?
A good quote names the moisture fix, the insulation assembly, the ceiling type and access points, any egress window, and an outlet and circuit plan, each as its own line. If a line is missing, ask. A missing line is a decision nobody has made yet.
Basement Remodeling Co. matches you with one vetted, licensed basement contractor for your metro. They book a free on-site estimate, measure, check moisture and ceiling height, and then give you a written, itemized quote. Nothing starts until you sign, and your contractor pulls the permit and books the inspections.
Questions to bring to the estimate:
- Where is water getting in, and what is the fix?
- What goes on the rim joists and foundation walls, and in what order?
- Where will the access panels go, and what sits behind each one?
- Does every room I plan to call a bedroom have an egress window that meets code here?
- How many outlets and circuits does each room get?
- Does the price include the permit? HomeGuide puts a finishing permit at $200 to $1,000, with some cities charging 1% to 2% of total costs.3 Angi puts permits at about $1,200 to $2,000.5
- What unexpected costs usually come up on a job like this? HomeGuide suggests asking exactly that.3
Local prices vary a lot. The site's published ranges, checked September 2026, run $45,000 to $80,000 for a typical full finish in metro Atlanta, $30,000 to $90,000 in metro Denver and $50,000 to $110,000 in Fort Collins. See what basement remodeling costs in Atlanta, Denver basement remodeling prices or Fort Collins cost ranges. Anything beyond those ranges is priced at your estimate.
When your plan covers all five, get a written quote for finishing your basement. You can also find a basement finishing contractor by ZIP code, or go straight to basement finishing in Denver or basement finishing across metro Atlanta.