The standard radon pipe is 4-inch Schedule 40 PVC.1 It can run inside the house or up an outside wall, and both routes work.2 Inside routing hides better in a finished basement, while outside routing may cost less to install.1 Either way, the pipe has to end above the edge of the roof, at least 10 feet above the ground and 10 feet from windows and doors unless it vents at least 2 feet above them.2
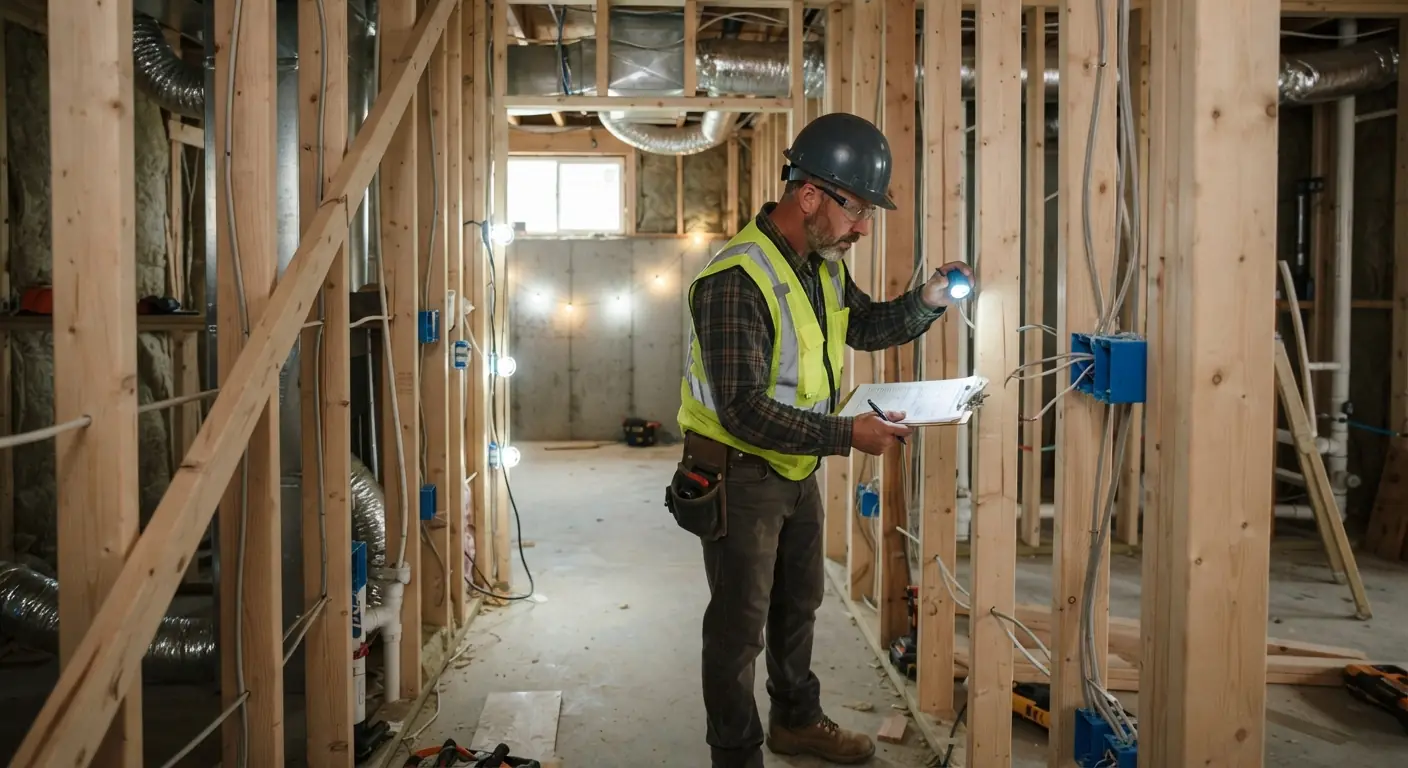
If you're finishing the basement, settle the route before anyone frames a wall.
TL;DR
- Use 4-inch Schedule 40 PVC unless your radon installer gives you a clear reason not to. EPA guidance for new-construction collection pipe allows 3-inch only under slabs smaller than 2,000 square feet, and every bend cuts airflow.3
- Pick the route around your finish plans. An interior chase to an attic fan looks cleaner. An exterior run up the wall is usually cheaper and leaves your finished rooms alone.1
- The fan never goes in or below living space. The pipe in your basement feeds a fan in the attic, the garage or outside.2
- The top of the pipe gets a bird screen and no rain cap. It must clear the roof edge, sit 10 feet up and stay 10 feet from openings unless it vents 2 feet above them.1
- When you box the pipe in, keep the label and the pressure gauge where you can see them, and keep the sump lid removable.2
What pipe does a radon system use?
A radon system uses solid PVC pipe, and the usual spec is 4-inch, Schedule 40.1 CERTI, a radon contractor training program, lists the pipe rating as DWV cellular core.1 The pipe starts at a suction pit dug below the basement floor, runs to a fan and ends at a discharge above the roof.2
The joints are glued. CERTI tells installers to follow the manufacturer's recommendations when gluing pipe and fittings.1 A leaky joint lets the fan pull basement air when it should be pulling soil gas.
A few other pipe types show up in some systems:
- Crawl spaces. A perforated pipe is laid on the soil under a plastic sheet, then connected to solid PVC that runs to the fan.1
- New construction. Builders can lay perforated collection pipe in crushed rock under the slab, looped around the footings and ending at a riser.3 That pipe needs the strength to carry the slab above it.3
- Outside the house. CERTI notes that a 3-inch by 4-inch downspout is used outside for looks.1
The rest of the system is small. A U-tube manometer shows whether the fan is working, a system tag records the installer and install date, and an active notification monitor alarms if the fan stops working properly.2 For how the whole setup fits together, from suction pit to fan, see our guide to radon mitigation systems.
Should you use 3-inch or 4-inch radon pipe?
Use 4-inch unless your installer has a clear reason not to. A UAF Extension video on new construction says EPA guidance allows 3-inch or 4-inch pipe under slabs smaller than 2,000 square feet and calls for 4-inch between 2,000 and 4,000 square feet.3 Every bend in the pipe cuts airflow.3
The presenter in that video chose 4-inch even on a house under 2,000 square feet.3 The system had many 90-degree bends, and the 4-inch pipe only cost a little more.3 Those figures describe collection pipe buried under a new slab. The retrofit spec CERTI teaches for the vent pipe is also four-inch.1
Three other sizes come up on a quote:
- The suction hole. At least one four to six inch hole is cored through the slab, with a small pit hollowed out beneath it.1
- The number of pipes. CERTI's rule of thumb is one vent pipe for roughly every 2,000 square feet of floor space at ground level.1 Tight soil or footings under the slab can call for more suction points, and those can often share one fan.1
- The fan. A professional may run diagnostic tests to pick the right fan size.2
Pipe size and fan size work together. Let the installer's diagnostics drive both.
Should radon pipe run inside or outside the house?
Both routes are allowed and both reduce radon.21 Inside routing carries the pipe up through a closet or chase to a fan in the attic. Outside routing takes the pipe out of the house and up the outside wall. CERTI says the outside route may cost less to install but may not look as good.1
| Inside routing | Outside routing | |
|---|---|---|
| Path | Up through an interior closet or chase to the attic | Out through the wall, then up the exterior |
| Fan location | Attic | Outside the house |
| Looks | Hidden once boxed in | Pipe visible on the wall; a downspout-style run can be used |
| Install cost | Can cost more | May cost less |
| Finished basement impact | Needs a chase in the basement and the floors above | Short run inside before it exits |
| Discharge rule | Above the roof edge, 10 feet up, 10 feet from openings unless it vents 2 feet above them2 | Same rule |
The fan location drives the route. Minnesota's health department says the fan goes in an unconditioned space such as an attic, garage or outside, to keep radon from leaking back into the home, and it cannot sit in or below living space.2 CERTI adds that a garage works only if there is no living space above it.1 An attic fan needs about 30 inches of vertical space.1
Noise and power are small. These fans are quiet and use about 60 watts.1 HomeGuide puts running costs at around $70 to $80 per year.4 An outdoor fan does take weather, and HomeGuide says a fan may need repair or replacement after 5 to 10 years, depending on design, placement and sun exposure.4
How to choose:
- Go inside if you're finishing the basement anyway and a closet or corner lines up floor to floor. The chase is easy to frame while the walls are open.
- Go outside if the basement is already finished, or if no interior path reaches the attic without cutting through finished rooms.
- Either way, if the pipe crosses a fire-rated wall, the rating has to be kept with fire collars or fire caulk.1
Does radon pipe need to go above the roof?
Yes. The discharge ends above the roof edge whether the pipe runs inside or outside.2 EPA says radon falls off sharply with distance from a roof discharge and nears background levels 3 to 4 feet away.5 EPA disallowed ground-level discharge because the gas could re-enter the house and children could be exposed to high levels.5
The gas in the pipe is concentrated. CERTI reports radon above 2000 pCi/L measured in some discharge pipes.1 For comparison, EPA says to fix a home at 4 pCi/L or higher.6 Radon is about 7.5 times heavier than air, but air movement and pressure move it easily.5 So the discharge points upward and never sits near the ground.1
Which rulebook applies depends on where you live. CERTI says systems follow EPA's radon mitigation standards where no local building code exists.1 New York's health department says the AARST/ANSI national radon standards are now the accepted standards and supersede the older EPA ones.7 Local adoption and amendments vary, so ask your installer which standard and which local code the design follows.
How far from a window should a radon pipe end?
Ten feet is the common rule. Minnesota's health department says the pipe must end at least 10 feet above ground and 10 feet from windows, doors and other openings, unless it vents at least 2 feet above them.2 The EPA model standard summarized by CERTI uses the same 10-foot and 2-foot figures.1
| Rule | Minnesota Department of Health | EPA model standard, as summarized by CERTI |
|---|---|---|
| Height | At least 10 feet above ground2 | At least 10 feet above grade1 |
| Windows, doors, openings | 10 feet away, unless the pipe vents at least 2 feet above them2 | 10 feet from an opening that is 2 feet below the discharge1 |
| Openings to adjacent buildings | Same 10-foot rule2 | Not listed |
| Roof | Above the edge of the roof | Above or at the eave |
| Top of pipe | Not listed | 1/4 inch bird screen1 |
In plain terms, under Minnesota's wording, a window 2 feet or more below the top of the pipe can sit closer than 10 feet.2 A window less than 2 feet below the discharge, level with it or above it needs the full 10 feet.2
The clearances apply to the discharge point, and CERTI says a pipe routed outside the home must still meet them.1 A basement finish can add openings. If your plan includes a new egress window (a window big enough to climb out of in an emergency) or a walkout door, show the radon installer before anyone cuts the opening.
Should a radon vent pipe have a cap?
No rain cap. CERTI's radon training material says rain caps interfere with system efficiency and are not needed.1 The top of the pipe gets a screen instead, to keep birds and squirrels out, and CERTI's checklist calls for a 1/4 inch bird screen.1
Water in the pipe is handled by slope. Pipe runs slope back toward the suction point at 1/8 inch per foot so condensation drains down and doesn't build up.1 If a quote or an existing system shows a rain cap on the discharge, ask the installer why.
How do you box in a radon pipe in a finished basement?
Frame a chase around the pipe, but keep the label and the pressure gauge in view. Minnesota's health department says systems must be clearly labeled so nobody changes them by accident.2 CERTI calls for an indicator in a prominent place that shows whether the system is working.1
Plan the route before framing
Put the pipe where a chase hides it best: a corner, a closet or the line of a planned wall. A licensed radon mitigation professional should decide the system type and may run diagnostic tests to place it.2 Your basement contractor then frames and finishes around it. When the radon work comes first, the finish fits the pipe. When it comes after, the pipe has to fit the finish.
Build the chase around the pipe
Frame a box with studs and drywall and leave a little air space around the pipe. Keep framing and drywall clear of the pipe, and keep the supports and slope the installer set. The slope lets condensation drain back to the suction point.1
Leave the gauge and label visible
The U-tube manometer is how you see that the fan is working.2 Leave an access panel or a small opening at the manometer, or ask the installer to mount it outside the chase. CERTI tells installers to label the pipe on each level where it is visible.1 Place the access so the label can still be read.
Keep the sump lid removable
If the system pulls from a sealed sump, the lid has to come off later so the pump can be serviced.1 Keep cabinets, benches and stair landings clear of it. If the basement has water trouble, deal with that first, and read about waterproofing a basement before finishing.
Seal before you cover
Cracks and openings in the foundation get sealed as part of mitigation, which makes the system work better.2 Once flooring goes down, those cracks are out of reach, so confirm the sealing is done before the floor goes in.
Retest after the finish
New York's health department says to test after major renovations, and every two years once you have a mitigation system.7 A basement finish counts, so retest when the work is done.
If radon is one item on a bigger plan, get a written quote for finishing your basement and ask the contractor to show the pipe chase on the layout. Already finished? Opening a wall or closet to hide a new pipe is remodeling an existing basement.
What a good radon pipe quote shows
A good quote spells out the pipe, the route, the fan location and the discharge point, then the test that proves the system works. Minnesota's health department says to retest after mitigation.2 CERTI puts that retest no sooner than 24 hours and no later than 30 days after installation.1
Check for these lines:
- Pipe spec. 4-inch Schedule 40 PVC, or the reason for something else.1
- Route and finish. Inside chase or outside wall, and who builds and closes the chase.
- Fan location. Attic, a garage with no living space above, or outside.1
- Discharge. Where it ends, and that it meets the clearances in your local code.
- Electrical. In Minnesota, most installs need electrical work and an electrical permit, and a contractor doing that work must be licensed.2 Check the rules where you live.
- Credentials. HomeGuide suggests mitigators certified by the National Radon Proficiency Program (NRPP) or the National Radon Safety Board (NRSB).4 Minnesota, for one, requires mitigation professionals to be licensed.2
- Follow-up test. Confirm the estimate includes one.4
- Paperwork. Written operating and maintenance instructions and copies of any warranties.2
Published prices differ by source and scope. HomeGuide puts an active soil depressurization system at $1,200 to $2,000 installed on average, and $2,500+ for larger homes.4 Minnesota's health department gives a general range of $1,500 to $3,000.2 New York's health department puts the average at about $2,500.7 Interior routing through finished space can cost more than an exterior run, because part of the cost is concealing the system.1 Your own price comes from your installer's estimate, and our radon mitigation cost guide breaks the ranges down.
Basement Remodeling Co. matches you with one vetted, licensed basement contractor for the finish work around the system. You can find the basement contractor for your ZIP code, or see how basement finishing works in Atlanta and basement finishing in Denver.